How to add Twitch stream
SplitCam is a program designed specifically to improve the performance of the webcam.
In order to start the stream you need:
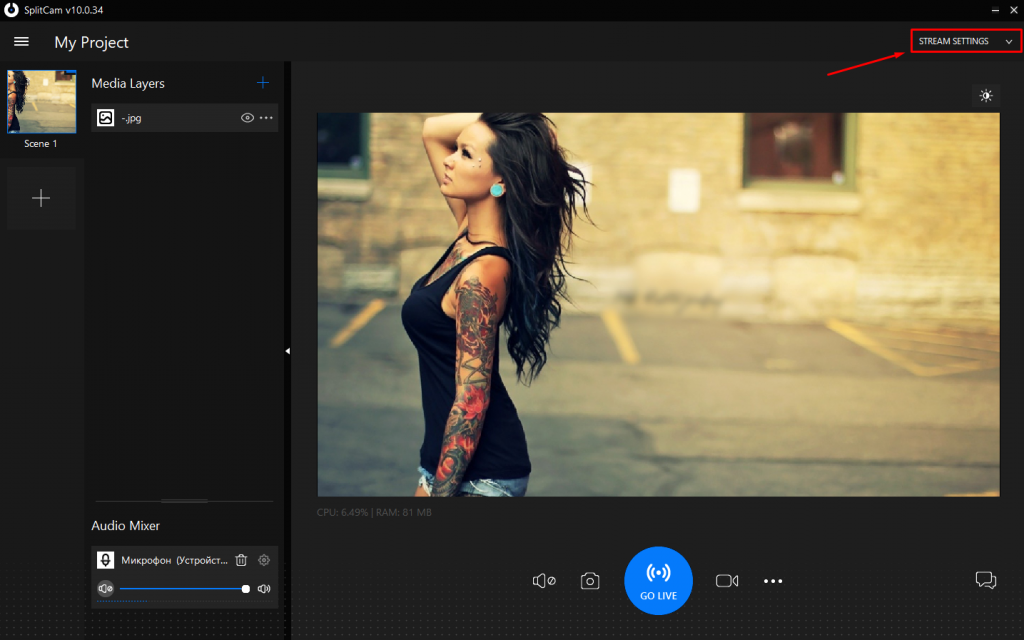
1. Click Stream Settings
![](https://splitcam.com/wp-content/uploads/2020/02/help_overview_01-1024x640.png)
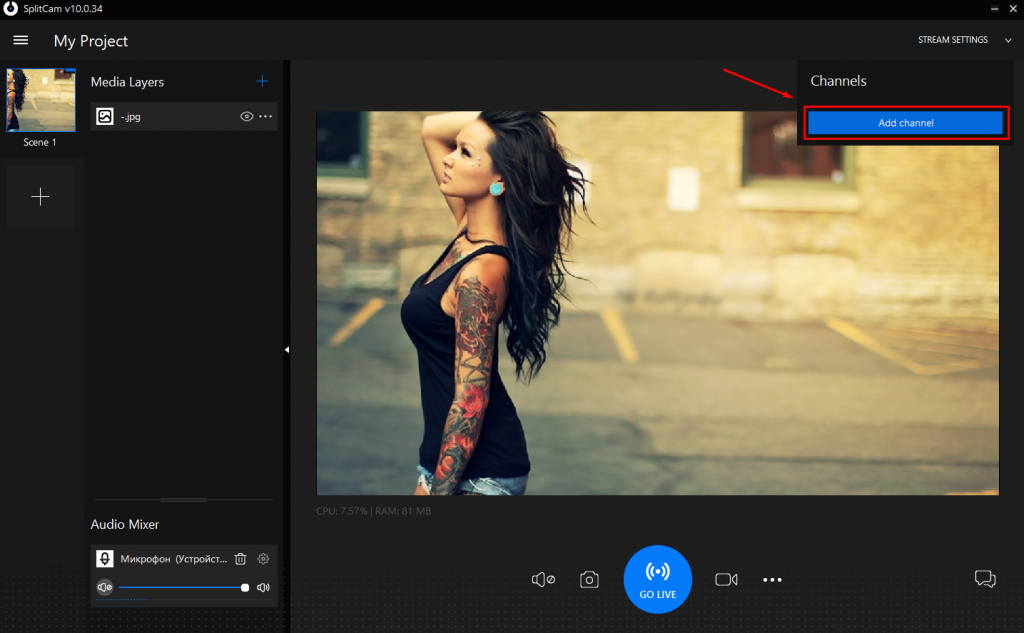
2. Click Add Channel
![](https://splitcam.com/wp-content/uploads/2020/02/help_overview_02-1024x633.png)
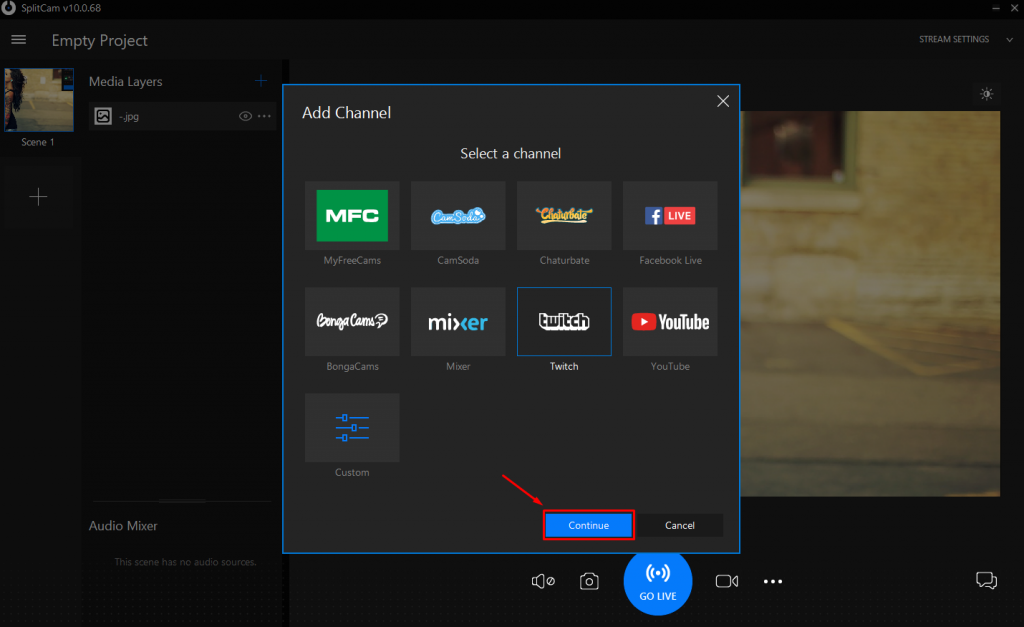
3. Select any Streaming Channel
![](https://splitcam.com/wp-content/uploads/2020/02/help_overview_18-1024x627.png)
4. Indicate:
- stream name (optional);
- region;
- stream key (BASIC)
![](https://splitcam.com/wp-content/uploads/2020/02/help_overview_14-1024x635.png)
5. You can use the recommended stream resolution settings using the Recommended preset button
![](https://splitcam.com/wp-content/uploads/2020/02/help_overview_05.png)
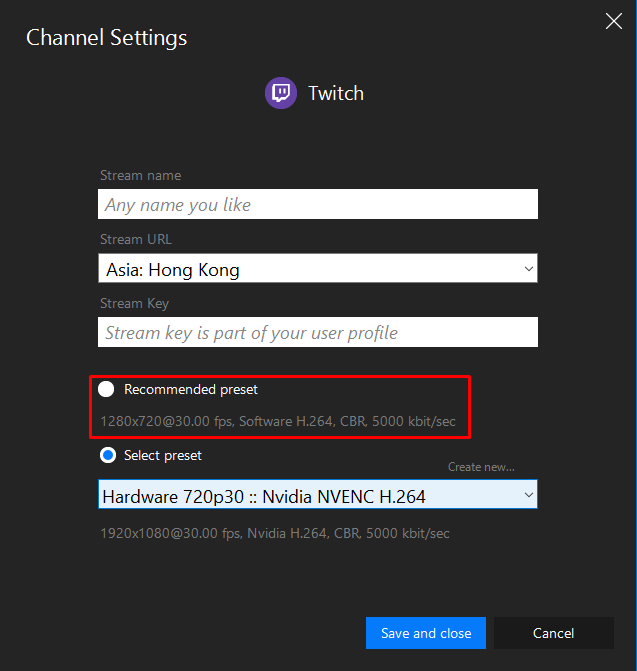
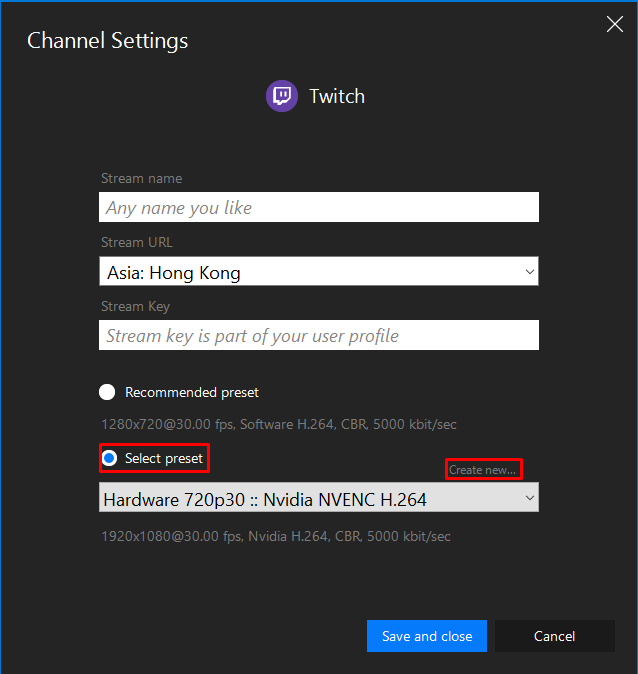
Or indicate your own.
To do this, click:
- “Select preset”
- Сreate new…
![](https://splitcam.com/wp-content/uploads/2020/02/help_overview_06.png)
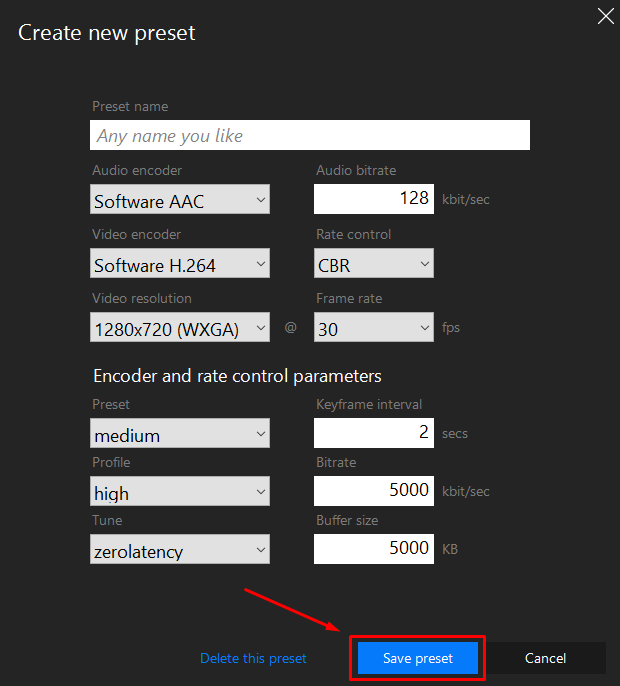
Then specify all the settings you need and save with the Save present button
![](https://splitcam.com/wp-content/uploads/2020/02/help_overview_07.png)
6. Save all specified settings with the Save & Close button
![](https://splitcam.com/wp-content/uploads/2020/02/help_overview_19-1-1024x637.png)
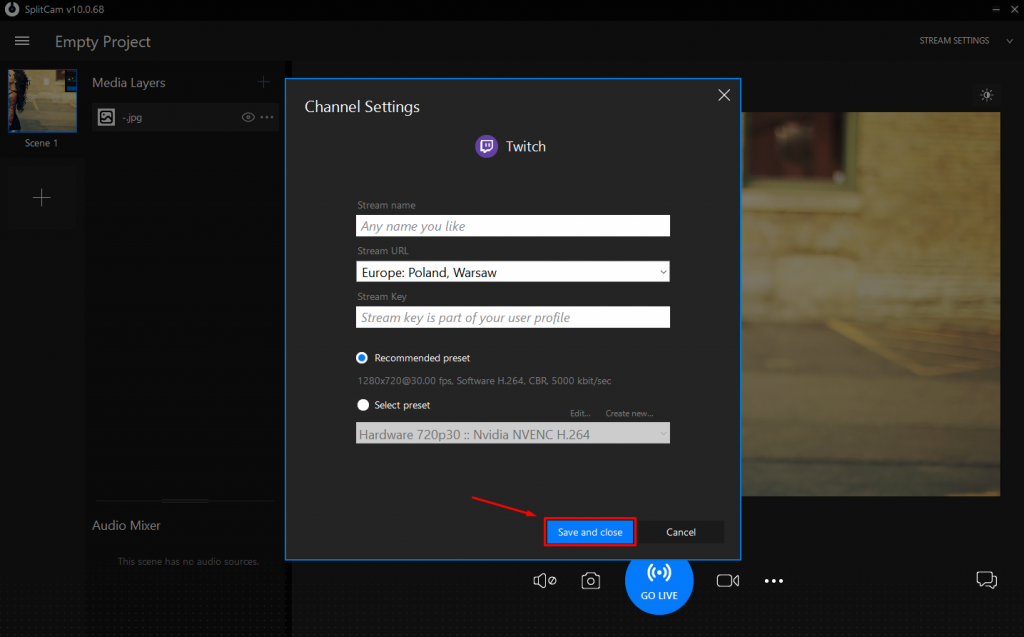
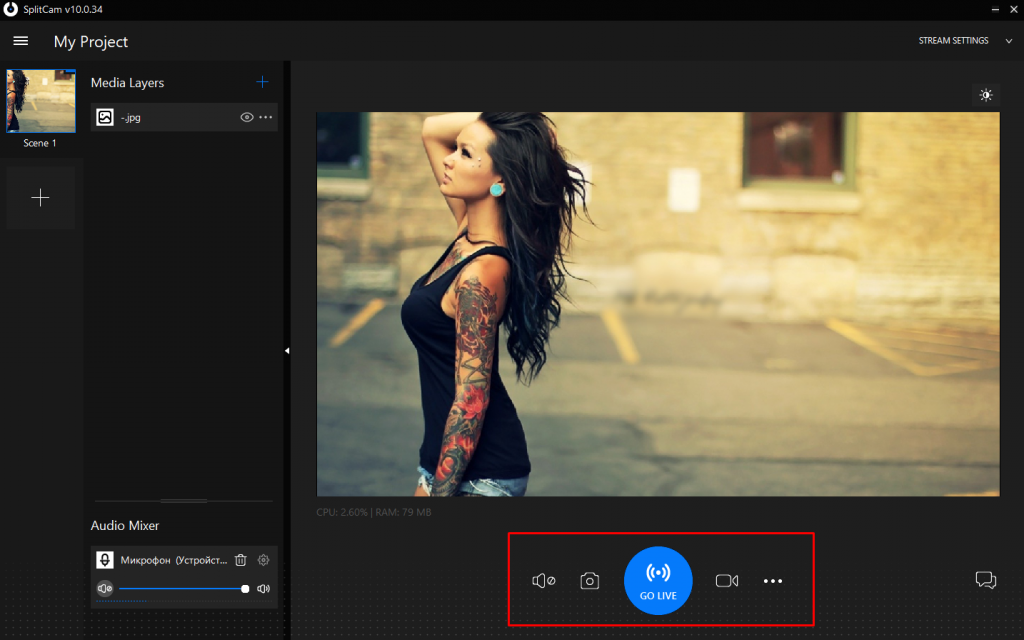
After all the above actions, you can start the stream with the “GO LIVE” button
![](https://splitcam.com/wp-content/uploads/2020/02/help_overview_04-1024x640.png)